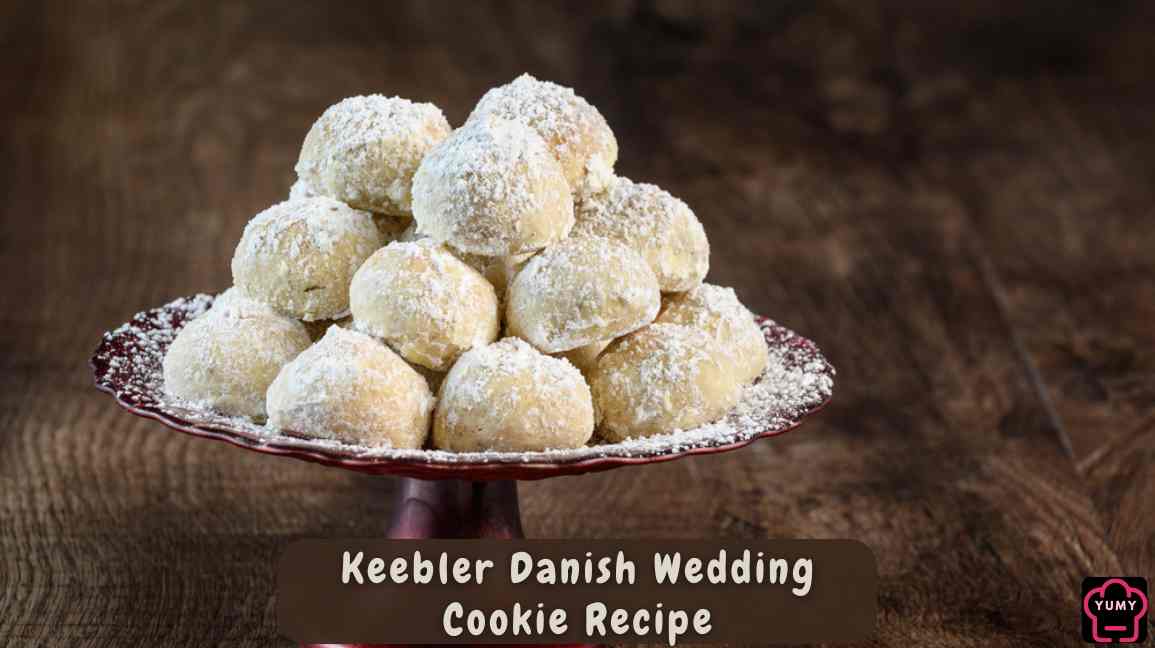
Today most people know the Keebler brand as a company that produces cookies and crackers. However, did you know that one of their most popular treats is a traditional Danish wedding cookie?
These cookies are also known as snowball or Russian tea cakes. They are deliciously buttery and crumbly, with a dusting of powdered sugar that resembles snow. They are perfect for weddings, holiday parties, or even just as an everyday treat.
I know you all taste it and that’s why you’re here. Want to learn how to make them at home? So without wasting any time, let’s dive into the delicious world of Keebler Danish wedding cookies.
What Are Keebler Danish Wedding Cookies and Why Are People Love Them?
Keebler Danish wedding cookies are a variation of a classic recipe loved around the world. They are known by different names, like snowball cookies, Russian tea cakes, or Mexican wedding cookies.
Originating from traditional European recipes, these cookies have become a favorite due to their rich, buttery flavor and melt-in-your-mouth texture.
The dough is rolled into small balls and baked until just firm, then coated generously with powdered sugar, creating their iconic snowy appearance.
Perfectly paired with tea or coffee, these cookies appeal to both the nostalgia of homemade treats and the convenience and reliability of a trusted brand like Keebler.
Ingredients Needed for Keebler Danish Wedding Cookies
To make these delightful cookies, you’ll need the following ingredients:
- 1 cup (2 sticks) unsalted butter, softened
- 1/2 cup powdered sugar, plus additional for coating
- 1 teaspoon vanilla extract
- 2 1/4 cups all-purpose flour
- 1/4 teaspoon salt
- 3/4 cup finely chopped nuts, such as pecans or walnuts
These ingredients create the special texture and flavor of Keebler Danish wedding cookies, with the nuts adding a gentle crunch to the buttery, melt-in-your-mouth dough.
The powdered sugar on top gives these cookies their classic look and a hint of sweetness in every bite.
Nutritional Information for These Cookies
Here’s a simple overview of the nutrition for Keebler Danish wedding cookies. The table below shows important details for each serving:
| Nutrient | Amount Per Serving |
|---|---|
| Calories | 145 kcal |
| Total Fat | 10 g |
| Saturated Fat | 5 g |
| Cholesterol | 20 mg |
| Sodium | 30 mg |
| Total Carbohydrates | 12 g |
| Dietary Fiber | 1 g |
| Sugars | 2 g |
| Protein | 1 g |
| Vitamin D | 0 µg |
| Calcium | 5 mg |
| Iron | 0.5 mg |
| Potassium | 20 mg |
Equipment Needed
To make these cookies, you’ll need the following equipment:
- Mixing bowl
- Hand or stand mixer
- Measuring cups and spoons
- Baking sheet
- Parchment paper or silicone baking mat
Recipe for Keebler Danish Wedding Cookies
Now that you have your ingredients and equipment ready, it’s time to make these famous cookies.
Follow this easy recipe to create your own Keebler Danish Wedding Cookies, great for any occasion or just a tasty treat at home.
Step 1: Cream the Butter and Sugar
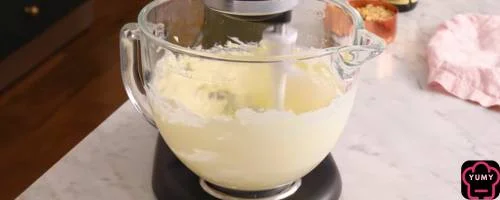
Alright, start by placing the soft butter in a mixing bowl. Use a hand or stand mixer to beat the butter on medium speed until it’s smooth and creamy. Slowly add the powdered sugar while mixing until the mixture is light and fluffy. This will help make the cookies soft and delicious.
Step 2: Add the Vanilla and Flour

Once the butter and sugar are combined, pour in the vanilla extract and mix it well into the batter.
Then, slowly add the all-purpose flour and salt, mixing at a low speed until the flour is fully combined. Be careful not to mix too much, as this can make the cookies tough instead of soft.
Step 3: Incorporate the Nuts
Now that the dough is ready, gently mix in the finely chopped nuts using a spatula or wooden spoon.
Make sure the nuts are spread out evenly in the dough. This will add a nice crunch to each cookie and improve the texture and flavor.
Step 4: Shape and Chill the Dough
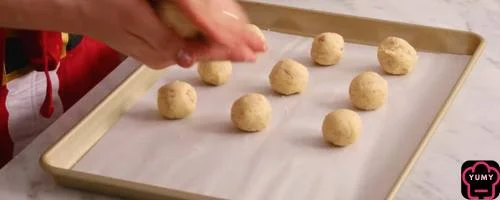
Now, take small pieces of dough and roll them into balls about an inch wide. Put them on a plate or tray and cover with plastic wrap.
Place the dough balls in the fridge to cool for about 30 minutes. Chilling the dough helps the cookies keep their shape while baking.
Step 5: Prepare for Baking
Preheat your oven to 350°F (175°C). Line a baking sheet with parchment paper or a silicone baking mat. Carefully arrange the chilled dough balls on the prepared baking sheet and leave some space between each ball to allow for expansion during baking.
Step 6: Bake the Cookies
Put the baking sheet in the preheated oven and bake the cookies for about 12-15 minutes, or until the bottoms are light golden. Watch closely so they don’t bake too long; you want the cookies to stay soft and buttery.
Step 7: Powder the Cookies
After taking the cookies out of the oven, let them cool a bit on the baking sheet. While they are still warm, roll each cookie in a bowl of powdered sugar until covered. Then, let them cool completely on a wire rack.
By following these steps, you’ll have a batch of tasty Keebler Danish Wedding Cookies ready to enjoy. If you are a dessert lover, then you might also like this Chocolate Brownie with Greek Yogurt and Stock’s Bakery Pound Cake.
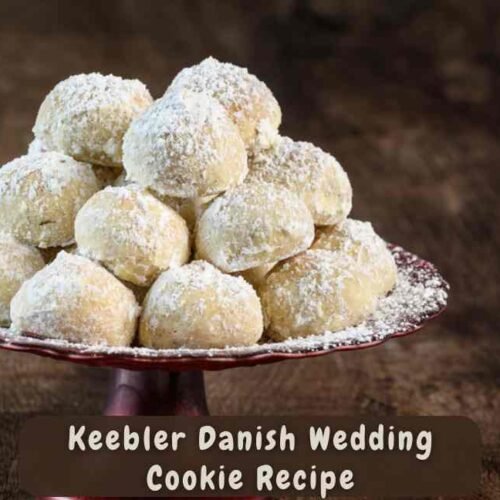
Keebler Danish Wedding Cookie Recipe
Equipment
- Mixing bowl
- Hand or stand mixer
- Measuring cups and spoons
- Baking Sheet
- Parchment paper or silicone baking mat
Ingredients
To make these delightful cookies, you’ll need the following ingredients:
- 1 cup 2 sticks unsalted butter, softened
- 1/2 cup powdered sugar plus additional for coating
- 1 teaspoon vanilla extract
- 2 1/4 cups all-purpose flour
- 1/4 teaspoon salt
- 3/4 cup finely chopped nuts such as pecans or walnuts
Instructions
Step 1: Cream the Butter and Sugar
- Alright, start by placing the soft butter in a mixing bowl. Use a hand or stand mixer to beat the butter on medium speed until it’s smooth and creamy. Slowly add the powdered sugar while mixing until the mixture is light and fluffy. This will help make the cookies soft and delicious.
Step 2: Add the Vanilla and Flour
- Once the butter and sugar are combined, pour in the vanilla extract and mix it well into the batter. Then, slowly add the all-purpose flour and salt, mixing on low speed until the flour is fully combined. Be careful not to mix too much, as this can make the cookies tough instead of soft.
Step 3: Incorporate the Nuts
- Now that the dough is ready, gently mix in the finely chopped nuts using a spatula or wooden spoon. Make sure the nuts are spread out evenly in the dough. This will add a nice crunch to each cookie and improve the texture and flavor.
Step 4: Shape and Chill the Dough
- Now, take small pieces of dough and roll them into balls about an inch wide. Put them on a plate or tray and cover with plastic wrap. Place the dough balls in the fridge to cool for about 30 minutes. Chilling the dough helps the cookies keep their shape while baking.
Step 5: Prepare for Baking
- Preheat your oven to 350°F (175°C). Line a baking sheet with parchment paper or a silicone baking mat. Carefully arrange the chilled dough balls on the prepared baking sheet and leave some space between each ball to allow for expansion during baking.
Step 6: Bake the Cookies
- Put the baking sheet in the preheated oven and bake the cookies for about 12-15 minutes, or until the bottoms are light golden. Watch closely so they don’t bake too long; you want the cookies to stay soft and buttery.
Step 7: Powder the Cookies
- After taking the cookies out of the oven, let them cool a bit on the baking sheet. While they are still warm, roll each cookie in a bowl of powdered sugar until covered. Then, let them cool completely on a wire rack.
Notes
Creative Ways to Serve Keebler Danish Wedding Cookies
If you want to take these Wedding Cookies to the next level, here are some innovative ways to serve them:
- Classic Pairing with Beverages: These cookies pair beautifully with tea or coffee, making them a perfect treat for afternoon tea or a cozy winter get-together.
- Pretty Platter Display: You can arrange cookies on a nice plate or a multi-level cake stand for a lovely look at weddings, parties, or fancy holiday gatherings. Add some fresh berries or fruit on the side for a pop of color and flavor.
- Cookie Sandwiches: You can turn these cookies into delicious cookie sandwiches by adding a creamy filling like chocolate ganache, jam, or Nutella. Just sandwich two cookies together with your desired filling in between.
- Dessert Buffet Essential: Include these cookies alongside other classic desserts on a buffet, allowing guests to sample a variety of flavors and textures.
- Party Favors: Wrap each cookie in clear plastic with a ribbon for a nice party gift at weddings or celebrations.
- Seasonal Garnishing: Enhance presentation by adding seasonal elements, like a sprig of holly or a dusting of cinnamon, to align with the occasion or time of year.
Storage Suggestions
To maintain the freshness and flavor of Keebler Danish Wedding Cookies, consider the following storage tips:
- Airtight Containers: Store the cookies in an airtight container to preserve their moisture and prevent them from becoming stale.
- Layer with Parchment: Place parchment paper between cookies’ layers to avoid them sticking together.
- Cool, Dry Place: Keep the container in a cool, dry place away from direct sunlight to maintain the quality of the cookies.
- Freezing: For longer storage, these cookies can be frozen. Place them in a freezer-safe container or bag, and thaw them at room temperature when ready to enjoy.
- Shelf Life: If stored correctly, the cookies can stay good for a week at room temperature or up to three months in the freezer.
Tips for Making Perfect Keebler Danish Wedding Cookies
If you want to make sure your cookies turn out perfect every time, here are some helpful tips to keep in mind:
- Use Room Temperature Ingredients: Ensure that the butter and any other ingredients are at room temperature for smooth mixing and even texture.
- Measure Carefully: Use exact amounts of flour and sugar to keep the right texture and stop the cookies from spreading too much or getting too heavy.
- Don’t Overmix: After adding the flour, mix only until it’s combined to prevent making the cookies tough.
- Chill the Dough: Chilling the dough helps the cookies keep their shape and makes the flavors better as the ingredients mix together.
- Watch the Baking Time: Keep an eye on the cookies while they bake to avoid burning; they should be light in color with golden bottoms.
- Roll While Warm: Roll cookies in powdered sugar while still warm for the first coating to ensure adherence, then again after cooling for a smooth, even finish.
Conclusion
In conclusion, Keebler Danish Wedding Cookies are a tasty treat that mixes a rich, buttery taste with a light, nutty crunch. By following this simple guide, you can make cookies that are not only yummy but also great for different occasions, from small tea parties to big celebrations.
Be creative and try different ways to serve, like cookie sandwiches or adding seasonal touches. With proper storage and some easy tips, you can make these cookies any time of the year and enjoy them for days.
FAQ
Can I make these cookies without nuts if I have an allergy?
Yes, you can omit the nuts from the recipe to accommodate allergies. Consider adding a nut-free flavoring or substitute, like vanilla or almond extract, for additional taste.
Can I add other flavorings or spices to the dough?
Yes, you can try different flavors and spices to make your cookies unique. Some popular choices are a dash of cinnamon, a sprinkle of nutmeg, or a splash of almond extract to enhance the vanilla flavor and take your cookies to the next level.
What happened to Keebler Danish Wedding Cookies?
Keebler Danish Wedding Cookies are a favorite snack, but sometimes they go missing from store shelves, which worries fans. This can happen because of changes in how they are made where they are sold, or because they are only available in certain seasons. Luckily, they often come back, or you can make them at home using similar recipes like the one shown here.
Can I use gluten-free flour for this recipe?
Yes, you can use gluten-free flour to make the cookies safe for people with gluten intolerance. Choose a gluten-free all-purpose mix, and think about adding something like xanthan gum to help keep the texture.
How do I know when the cookies are done baking?
The cookies are ready when their edges turn a light golden brown and the bottoms have a slightly darker hue. Be careful not to bake them too long; they should still feel soft and slightly firm as they cool.
Can I make the cookies in advance for an event?
Yes, you can make the cookies in advance. Prepare the dough ahead of time, and store it in the refrigerator for up to 2 days, or bake the cookies and store them in an airtight container for a week. They can also be frozen for up to three months for extended freshness.
What should I do if my cookies spread too much during baking?
If your cookies spread more than desired, ensure the dough is adequately chilled before baking. Also, check that you have measured the ingredients correctly, particularly the butter and flour.
These cookies turned out perfect!
We’re loved to hear that!
Just made these for a party, and they were a hit!
Fantastic!
Love the idea of a Nutella filling.
Nutella is a great choice!
Can’t believe how easy these were to make!
Simple and tasty is the goal.
My family adores these cookies; they disappeared in no time.
That’s wonderful to hear!
The tips really helped me avoid burning the cookies.
Great! Keeping them light and golden is key.
Perfect for my holiday treats platter.
Yess
Thanks for the gluten-free advice; my friend could enjoy them too.
Thanks
I tried a batch with almond extract, and they tasted amazing!
Ohh That’s great!
These cookies remind me of my grandmother’s recipe
What a lovely sentiment.