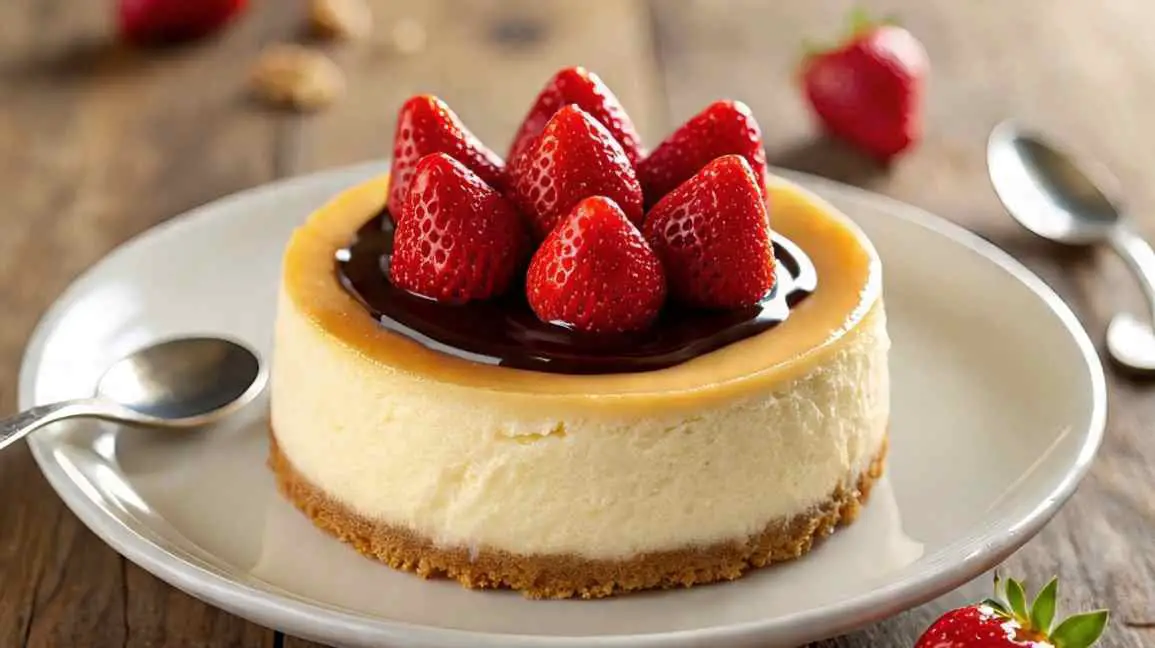
Nothing beats the creamy, dreamy delight of a no bake cheesecake recipe with Cool Whip when you’re craving something sweet but don’t want to turn on the oven. This dessert is a lifesaver for busy days, potlucks, or when you just want to whip up something indulgent with minimal effort.
Its light, fluffy texture and rich flavor make it a crowd-pleaser that disappears fast. Whether you’re a seasoned baker or a beginner, this recipe is foolproof and fun to make.
I remember the first time I made this cheesecake for a family gathering—it was gone in minutes, and everyone was asking for the recipe. The best part? It’s so easy to customize with your favorite toppings or flavors. In this article, I’ll guide you through every step to create a perfect no bake cheesecake that’s sure to impress. Let’s dive into why this dessert is such a hit and how you can make it at home.
Why People Love This No Bake Cheesecake
This no bake cheesecake recipe with Cool Whip is a favorite for so many reasons. It’s quick to prepare, requires no baking, and delivers a creamy texture that melts in your mouth. The Cool Whip adds a light, airy fluffiness that sets it apart from heavier baked cheesecakes. Plus, it’s versatile enough to pair with any topping, from fresh fruit to chocolate drizzle.
You don’t need fancy equipment or advanced skills to make this dessert. It’s perfect for beginners or anyone short on time. The recipe is also budget-friendly, using simple ingredients you likely already have. Best of all, it’s a make-ahead dessert that chills in the fridge, freeing you up for other tasks.
Ingredients You’ll Need
To make this no bake cheesecake, you’ll need a handful of pantry staples. These ingredients come together to create a rich, creamy dessert with minimal effort. Here’s what to gather:
- Graham cracker crumbs: 1 ½ cups for the crust.
- Granulated sugar: ¼ cup for the crust and ½ cup for the filling.
- Unsalted butter: ½ cup, melted, for the crust.
- Cream cheese: 16 oz (2 packages), softened.
- Cool Whip: 8 oz tub, thawed.
- Vanilla extract: 1 tsp for flavor.
- Lemon juice: 1 tbsp for a slight tang.
- Optional toppings: Fresh berries, chocolate sauce, or whipped cream.
Make sure your cream cheese is at room temperature for a smooth filling. You can swap graham crackers for crushed cookies like Oreos for a twist.
Equipment Needed
You don’t need much to whip up this cheesecake. A 9-inch springform pan works best for easy removal. A mixing bowl, spatula, and measuring cups are essential.
A hand mixer or whisk helps blend the filling smoothly. If you’re crushing your own graham crackers, a food processor or ziplock bag and rolling pin will do the trick.
Step-by-Step Instructions
Follow these simple steps to create a no bake cheesecake that’s sure to impress. Each step is quick and straightforward. Let’s get started!
Step 1: Prepare the Graham Cracker Crust
Mix graham cracker crumbs, ¼ cup sugar, and melted butter in a bowl. Stir until the mixture resembles wet sand. Press it evenly into the bottom of a 9-inch springform pan.
Use the back of a spoon to compact the crust. Chill it in the fridge for 15 minutes to set.
Step 2: Soften the Cream Cheese
Place the cream cheese in a large mixing bowl. Let it sit at room temperature for about 30 minutes. This ensures a smooth, lump-free filling.
If you’re in a hurry, microwave the cream cheese for 15 seconds. Check and stir to avoid overheating.
Step 3: Beat the Cream Cheese and Sugar
Using a hand mixer, beat the cream cheese and ½ cup sugar until creamy. This takes about 1-2 minutes. Scrape down the sides of the bowl as needed.
Add vanilla extract and lemon juice during mixing. These add a bright, balanced flavor.
Step 4: Fold in the Cool Whip
Gently fold the thawed Cool Whip into the cream cheese mixture. Use a spatula to combine until smooth and fluffy. Be careful not to overmix to keep the airy texture.
Step 5: Assemble the Cheesecake
Pour the filling over the chilled crust in the springform pan. Smooth the top with a spatula. Cover the pan with plastic wrap or foil.
Place the cheesecake in the refrigerator. Chill for at least 4 hours, or preferably overnight, to set.
Step 6: Add Toppings and Serve
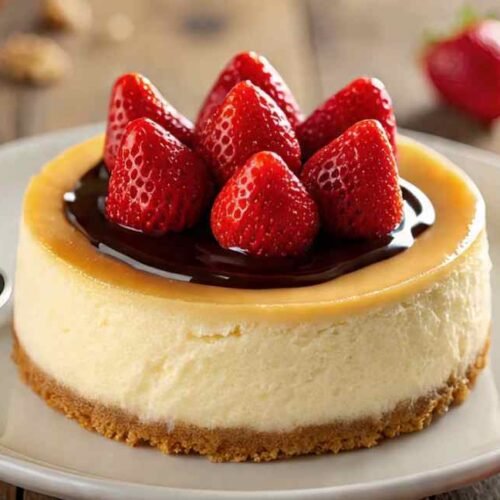
Remove the cheesecake from the springform pan. Slice and serve with your favorite toppings. Fresh strawberries, blueberries, or a drizzle of chocolate work wonderfully.
Serve chilled for the best texture. Store leftovers in the fridge for up to 5 days.
Tips for the Perfect No Bake Cheesecake
To ensure your cheesecake turns out flawless, keep these tips in mind:
- Use softened cream cheese: This prevents lumps in the filling.
- Chill thoroughly: A longer chill time helps the cheesecake set properly.
- Experiment with crusts: Try crushed vanilla wafers or chocolate cookies for variety.
- Add toppings just before serving: This keeps them fresh and vibrant.
- Freeze for easier slicing: Pop the cheesecake in the freezer for 20 minutes before cutting.
For more dessert inspiration, check out this guide from AllRecipes. It’s a great resource for creative ideas.
Nutritional Information
Here’s a breakdown of the nutritional content per slice (based on 8 servings). Values are approximate and may vary based on specific ingredients used.
| Nutrient | Amount per Serving |
|---|---|
| Calories | 420 kcal |
| Total Fat | 28g |
| Saturated Fat | 16g |
| Cholesterol | 65mg |
| Sodium | 320mg |
| Total Carbohydrates | 38g |
| Sugars | 25g |
| Protein | 5g |
This is a rich dessert, so enjoy it in moderation. Pair it with fresh fruit for a lighter touch.
Serving Suggestions
This no bake cheesecake is versatile and pairs well with many flavors. Here are some ideas to elevate your dessert:
- Fresh fruit: Top with raspberries, blueberries, or sliced peaches for a burst of color.
- Sauces: Drizzle with caramel, chocolate, or strawberry sauce for extra decadence.
- Whipped cream: Add a dollop of extra Cool Whip for a fluffy finish.
- Nuts: Sprinkle crushed pecans or almonds for a bit of crunch.
- Seasonal twists: Use pumpkin spice or peppermint extract for holiday versions.
Serve it at birthdays, barbecues, or casual get-togethers. It’s always a hit!
Storing and Making Ahead
This cheesecake is perfect for preparing in advance. Store it in the fridge, covered, for up to 5 days. The flavors meld beautifully over time.
You can also freeze it for up to 1 month. Wrap it tightly in plastic wrap and foil. Thaw in the fridge overnight before serving.
Customizing Your Cheesecake
One of the best things about this recipe is how easy it is to customize. Swap out ingredients or add mix-ins to suit your taste. Here are some ideas:
- Chocolate lovers: Add ¼ cup cocoa powder to the filling or use an Oreo crust.
- Fruity twist: Mix in pureed strawberries or mango for a flavored cheesecake.
- Crunchy add-ins: Fold in crushed cookies or toffee bits for texture.
- Mini cheesecakes: Use a muffin tin for individual portions.
Get creative and make it your own. The possibilities are endless!
Why Cool Whip Makes a Difference
Cool Whip is the secret to this cheesecake’s light, fluffy texture. It’s a stabilized whipped topping that holds its shape well. Unlike heavy cream, it doesn’t require whipping, saving you time.
It also adds a subtle sweetness that balances the tangy cream cheese. If you prefer, you can make your own whipped cream, but Cool Whip keeps things simple.
Troubleshooting Common Issues
Sometimes things don’t go as planned. Here’s how to fix common problems:
- Lumpy filling: Ensure cream cheese is fully softened before mixing.
- Crust falls apart: Press it firmly and chill before adding the filling.
- Cheesecake won’t set: Chill for at least 4 hours or overnight.
- Too sweet: Reduce sugar in the filling by 2 tablespoons.
These tweaks will help you nail the recipe every time.
Summary
This no bake cheesecake recipe with Cool Whip is a dessert dream come true. It’s creamy, easy to make, and endlessly customizable. With a buttery graham cracker crust and fluffy filling, it’s perfect for any occasion. Whether you top it with fruit, chocolate, or keep it classic, it’s sure to impress.
Make it ahead, chill, and enjoy the compliments that roll in. It’s a stress-free recipe that delivers big on flavor. Try it for your next gathering, and watch it become a new favorite!
FAQ
Can I use homemade whipped cream instead of Cool Whip?
Yes, but whip it to stiff peaks for stability. It may slightly alter the texture.
How long does this cheesecake last in the fridge?
It stays fresh for up to 5 days. Keep it covered to prevent drying out.
Can I make this gluten-free?
Use gluten-free graham crackers or cookies for the crust. Check other ingredients for compliance.
What if I don’t have a springform pan?
Use a regular 9-inch pie dish. It’ll work, but slicing may be trickier.
Can I add food coloring to the filling?
Yes, a few drops of gel food coloring can create fun, vibrant hues.
No Bake Cheesecake Recipe with Cool Whip
Equipment
- 9-inch springform pan
- Mixing bowl
- Spatula
- Measuring cups and spoons
- Hand mixer or whisk
- Food processor or ziplock bag
Ingredients
- Graham cracker crumbs: 1 ½ cups for the crust.
- Granulated sugar: ¼ cup for the crust and ½ cup for the filling.
- Unsalted butter: ½ cup melted, for the crust.
- Cream cheese: 16 oz 2 packages, softened.
- Cool Whip: 8 oz tub thawed.
- Vanilla extract: 1 tsp for flavor.
- Lemon juice: 1 tbsp for a slight tang.
- Optional toppings: Fresh berries chocolate sauce, or whipped cream.
Instructions
Step 1: Prepare the Graham Cracker Crust
- Mix graham cracker crumbs, ¼ cup sugar, and melted butter in a bowl. Stir until the mixture resembles wet sand. Press it evenly into the bottom of a 9-inch springform pan.
- Use the back of a spoon to compact the crust. Chill it in the fridge for 15 minutes to set.
Step 2: Soften the Cream Cheese
- Place the cream cheese in a large mixing bowl. Let it sit at room temperature for about 30 minutes. This ensures a smooth, lump-free filling.
- If you’re in a hurry, microwave the cream cheese for 15 seconds. Check and stir to avoid overheating.
Step 3: Beat the Cream Cheese and Sugar
- Using a hand mixer, beat the cream cheese and ½ cup sugar until creamy. This takes about 1-2 minutes. Scrape down the sides of the bowl as needed.
- Add vanilla extract and lemon juice during mixing. These add a bright, balanced flavor.
Step 4: Fold in the Cool Whip
- Gently fold the thawed Cool Whip into the cream cheese mixture. Use a spatula to combine until smooth and fluffy. Be careful not to overmix to keep the airy texture.
Step 5: Assemble the Cheesecake
- Pour the filling over the chilled crust in the springform pan. Smooth the top with a spatula. Cover the pan with plastic wrap or foil.
- Place the cheesecake in the refrigerator. Chill for at least 4 hours, or preferably overnight, to set.
Step 6: Add Toppings and Serve
- Remove the cheesecake from the springform pan. Slice and serve with your favorite toppings. Fresh strawberries, blueberries, or a drizzle of chocolate work wonderfully.
- Serve chilled for the best texture. Store leftovers in the fridge for up to 5 days.